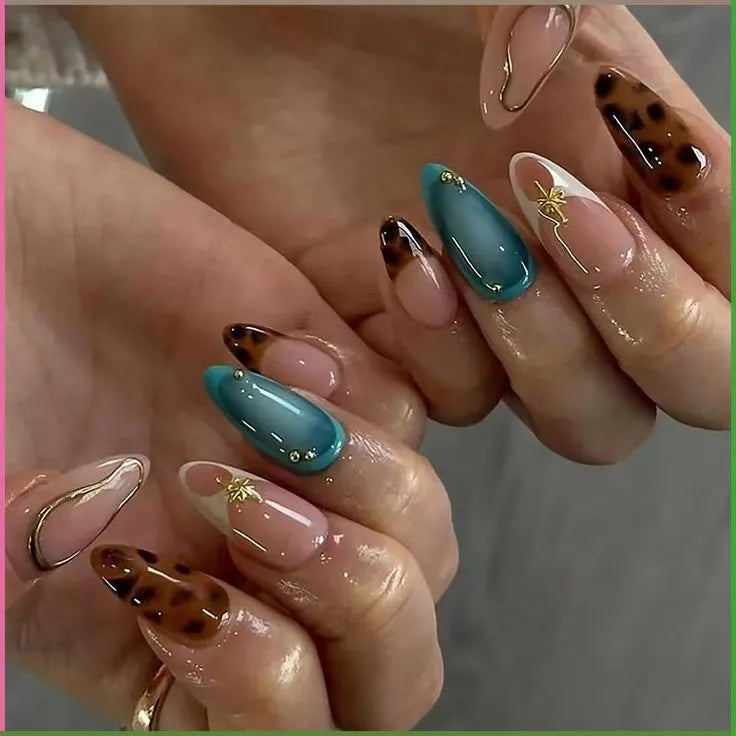
5 Expert Tips for How To Make Press On Nails Last Longer
Share
Hey gorgeous! So, you've invested in a beautiful set of handmade press-on nails (great choice, by the way 😉), but you're worried about how to make them last? I feel you! There's nothing worse than a nail popping off at the most inconvenient time.
As a nail artist, I've tested all the methods, and I'm here to share my top 5 expert-approved tips to get your press-ons to stay put for up to 2 weeks or more! Let's get into it.
Tip 1: Prep is EVERYTHING – The Dehydrate & Prime Power Duo
This is the most crucial step. Period. Your natural nails have oils that prevent adhesion.
Gently Push Back Cuticles: Use a cuticle pusher to create a clean canvas.
Lightly Buff the Surface: Don't overdo it! Just gently buff your nail plate with a fine-grit file to remove shine. This creates texture for the glue to grip onto.
THE SECRET WEAPON: Wipe each nail thoroughly with a rubbing alcohol pad or a dedicated nail dehydrator. This removes all dust and oils. Follow up with a nail primer (acid-free is best). This little step is a GAME-CHANGER for longevity!

Tip 2: Size Matters – Find Your Perfect Match
If the nail is too big, it will catch on things and lift. Too small, and it won't have enough surface area to adhere properly.
Measure Twice, Apply Once: Don't just guess! Use our printable CHU-FEN Nails Size Guide to find the exact size for each of your nails. A perfectly sized nail is a secure nail.
File to Fit: If a nail is almost perfect but just a hair too wide, you can gently file the sides for a custom fit. This is much easier with high-quality handmade nails!
Tip 3: Glue Like a Pro – Less is More
The goal is a thin, even layer that doesn't flood your cuticles.
Apply to YOUR Nail AND the Press-On: For the strongest hold, apply a small bead of glue to your natural nail and a thin layer inside the press-on nail.
Avoid Flooding: Keep glue away from your cuticles and skin. If excess glue seeps out when you press down, wipe it away immediately with a cotton swab.
Pro Tip: Wait about 30 seconds for the glue to become a bit tacky before applying. This creates an even stronger bond.

Tip 4: The Perfect Press – Apply Pressure Like You Mean It
How you press the nail on determines if there are bubbles or weak spots.
Place at a 45-Degree Angle: Place the cuticle end of the press-on nail near your cuticle, but not touching it. Hold it at a 45-degree angle.
Press and Hold: Slide the nail down to meet your cuticle, then firmly press from the cuticle down to the free edge for 30 solid seconds. Apply pressure all over the nail surface. Don't just tap it on!
Tip 5: Post-Application Care – Love Your Nails
The first few hours are critical for the adhesive to fully cure.
Avoid Water: For the first 2-3 hours after application, try to avoid hot showers, washing dishes, or any prolonged water exposure.
Wear Gloves: When cleaning or doing dishes, wear gloves to protect your nails and your manicure.
Oil Your Cuticles: After 24 hours, regularly apply cuticle oil around the nails. This keeps your skin healthy and helps prevent lifting by maintaining the flexibility of the adhesive, without directly undermining it.

BONUS TIP: Start with Quality!
All these tips work best when you start with a high-quality set. Thin, flimsy plastic nails won't last, no matter what you do. Our nails at CHU-FEN Nails are made with flexible gel that moves with your nail, creating a stronger, more durable bond from the start. Ready to put these tips to the test? Shop our longest-lasting designs here!
Did you find these tips helpful? What's your biggest challenge with making press-ons last? Share in the comments!